
Creating Captivating Wildlife Art Prints
- Aug 16, 2025
- 5 min read
Have you ever been mesmerized by the beauty of wildlife captured in art? I know I have! There’s something magical about seeing the intricate details of an animal’s fur, feathers, or scales brought to life on paper. Today, I’m thrilled to share with you how to create captivating wildlife art prints that not only showcase nature’s wonders but also tell a story. Whether you’re an artist looking to refine your skills or a collector curious about the process, this post is packed with tips, techniques, and inspiration. Ready to dive in? Let’s go!
Discovering the Magic of Wildlife Art Techniques
Wildlife art techniques are the heart and soul of creating stunning animal portraits. These methods help artists capture the essence of their subjects with precision and emotion. But what exactly are these techniques? Let me break it down for you:
Observation is Key: Before putting pencil to paper, spend time observing your subject. Notice the way light hits the fur, the texture of feathers, or the glint in an animal’s eye. This attention to detail is what makes wildlife art so captivating.
Sketching the Basics: Start with light, loose sketches to map out proportions and poses. This stage is all about getting the anatomy right without worrying about details.
Layering Textures: Use different strokes and shading techniques to build texture. For example, short, quick strokes can mimic fur, while smooth, flowing lines work well for feathers.
Playing with Light and Shadow: Contrast is your best friend! Highlighting certain areas while shading others adds depth and realism.
Patience and Precision: Wildlife art demands patience. Take your time to refine details like whiskers, scales, or the subtle color variations in an animal’s coat.
These techniques aren’t just for pros. Anyone can learn and improve with practice. And trust me, the satisfaction of seeing your wildlife art prints come to life is unbeatable!
Essential Wildlife Art Techniques to Elevate Your Prints
Now that you know the basics, let’s explore some essential wildlife art techniques that will take your prints to the next level. These tips come from years of experience and a deep love for nature’s artistry.
1. Mastering Pencil Control
Pencils are incredibly versatile tools for wildlife art. From soft graphite for shading to hard pencils for fine lines, mastering pencil control is crucial. Try practicing:
Hatching and Cross-Hatching: These techniques create texture and depth by layering lines in different directions.
Blending: Use blending stumps or tissue paper to smooth out shading and create soft transitions.
Eraser Techniques: Don’t underestimate the power of an eraser! It can add highlights or correct mistakes with finesse.
2. Using Reference Photos Wisely
High-quality reference photos are invaluable. They help you capture accurate details and poses. But beware of relying too heavily on them! Use photos as a guide, but let your creativity flow. Sometimes, combining elements from multiple photos can create a more dynamic composition.
3. Experimenting with Composition
Composition can make or break your artwork. Think about:
Rule of Thirds: Place your subject off-center to create a more engaging image.
Background Elements: Keep backgrounds simple to focus attention on the animal, or add subtle hints of habitat for context.
Eye Contact: Animals looking directly at the viewer create a powerful connection.
4. Adding Color Thoughtfully
While pencil drawings are stunning, adding color can bring a new dimension. Watercolors, colored pencils, or digital coloring can enhance your prints. Just remember to keep colors natural and true to the animal’s environment.
5. Finishing Touches and Presentation
Once your artwork is complete, consider how you’ll present it. High-quality printing on textured paper can elevate your wildlife art prints. Framing with a simple mat allows the art to shine without distraction.

Tools and Materials That Make a Difference
Creating captivating wildlife art prints isn’t just about skill - the right tools matter too! Here’s a list of essentials that I swear by:
Graphite Pencils: A range from 2H (hard) to 6B (soft) covers all shading needs.
Erasers: Kneaded erasers for gentle lifting and precision erasers for fine details.
Blending Tools: Blending stumps, tortillons, or even cotton swabs.
Paper: Choose acid-free, heavyweight paper with a slight texture to hold graphite well.
Fixative Spray: Protects your finished drawing from smudging.
Lightbox (Optional): Great for tracing and refining sketches.
Investing in quality materials not only improves your results but also makes the creative process more enjoyable. Plus, your prints will last longer and look more professional!
How to Turn Your Art into Stunning Wildlife Art Prints
So, you’ve poured your heart into a beautiful wildlife drawing. What’s next? Turning it into a print that others can admire and cherish! Here’s how to do it right:
Digitize Your Artwork: Use a high-resolution scanner or camera to capture your drawing. Aim for at least 300 dpi for crisp prints.
Edit and Enhance: Use photo editing software to adjust brightness, contrast, and clean up any imperfections.
Choose the Right Printing Method: Options include giclée printing, which offers museum-quality results, or traditional inkjet printing for smaller runs.
Select Paper and Finish: Matte, glossy, or textured papers each give a different feel. Test samples to find what suits your art best.
Packaging and Presentation: If you’re selling or gifting, consider protective sleeves, backing boards, and attractive packaging.
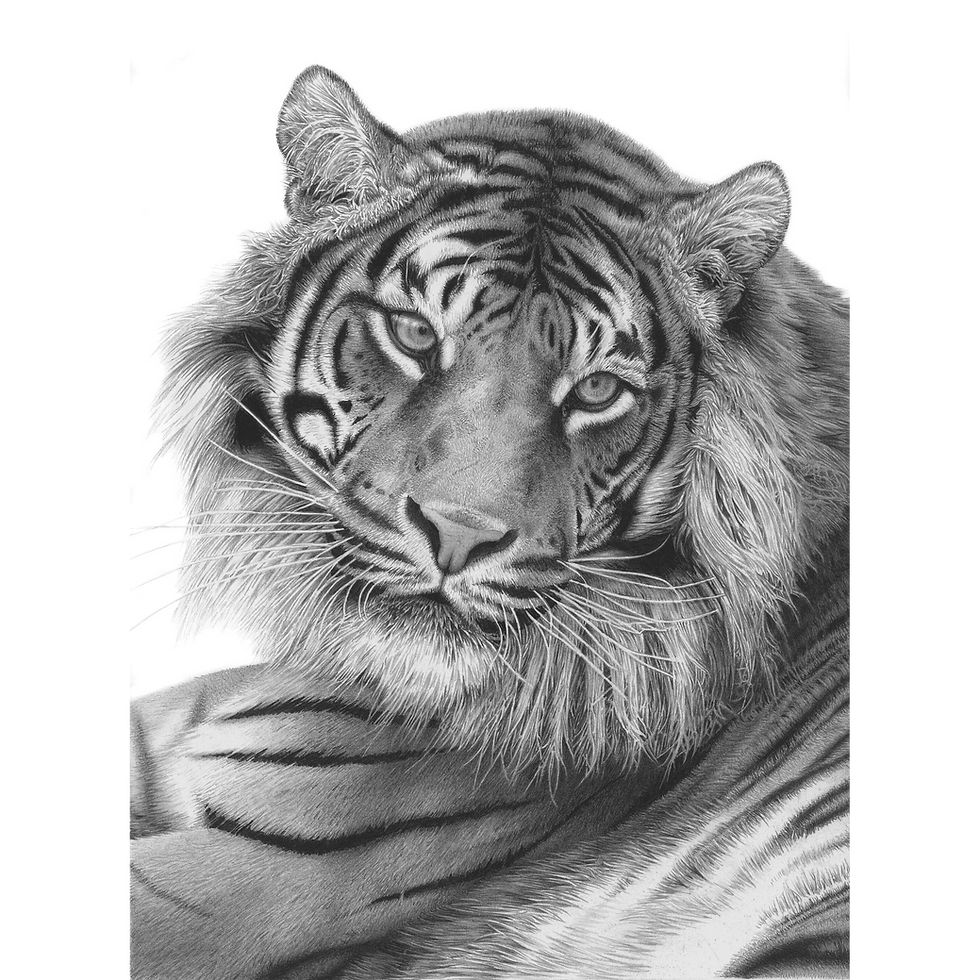
By following these steps, you ensure your wildlife art prints look as stunning as the original piece. And hey, if you want to explore some amazing examples, check out wildlife art prints by David Dancey-Wood - his detailed pencil drawings are truly inspiring!

Bringing Wildlife Art to Life in Your Space
Finally, let’s talk about how to showcase your wildlife art prints in a way that celebrates nature’s beauty and sparks conversation.
Create a Gallery Wall: Mix and match different animal prints for a dynamic display.
Use Natural Frames: Wood or bamboo frames complement wildlife themes beautifully.
Incorporate Lighting: Soft spotlights or natural light enhance details and textures.
Rotate Your Collection: Keep things fresh by swapping prints seasonally or for special occasions.
Gift with Meaning: Wildlife art prints make thoughtful gifts that connect people to the natural world.
Remember, your art is more than decoration - it’s a celebration of life, a call to protect endangered species, and a source of joy. So, hang those prints proudly and let the wild inspire you every day!
I hope this journey into wildlife art techniques and print creation has sparked your creativity and passion. Whether you’re sketching your first animal or curating a collection, remember that every stroke brings you closer to the wild’s heart. Happy creating!


Comments